Overview
Quick Project Facts
She booked the workshop as a surprise for her boyfriend.
He thought they were simply spending the day together in Ho Chi Minh City. Instead, he found himself at a jewelry bench, making a silver ring for her.
They had both decided to make each other’s rings.Neither had much jewelry-making experience. They didn’t arrive with perfect drawings or a detailed plan. They came ready to figure things out at the bench.
And one of the rings they chose to make turned out to be much more involved than it looked..
Project:
Double-knot silver ring
Made by:
First-time jewelry makers
Workshop Type:
Private Couple Workshop
Material:
Silver 940
Starting material:
3.5 mm silver wire
Finished wire:
Approximately 0.9 mm
Techniques:
Wire drawing, annealing, forming, soldering, filing, sanding and polishing
Location:
Ho Chi Minh City
Purpose:
A handmade gift for each other
The Challenge
Making a Tiny Ring From Thick Wire
She wanted for herself a small, delicate double-knot ring.
The design needed very thin wire, around 0.9 mm thick but there was just one problem;
We didn’t have the exact wire gauge needed.
So rather than giving him a piece of ready-made 0.9 mm wire, we started with what we had: 3.5 mm silver wire.
That meant he had to make the wire himself. And this is where the project became considerably more interesting and fun.


The Process
1. Drawing the Wire
The first job was reducing the thick silver wire down to the required size.
He pulled the 3.5 mm wire through our drawplate, working it through progressively smaller holes until it reached approximately 0.9 mm which if you’ve never drawn wire before, it takes some effort. The drawplate is fixed in place, while the maker has to pull the silver through it.
That’s what you can see in the photos, with him leaning into the floor-mounted setup and putting his weight behind the pull.
The wire gradually became thinner, longer and harder.
Which meant the next step was very important in order to continue with the process.
The Process
2. Annealing the Silver
Drawing wire changes the metal; Repeatedly pulling and working silver makes it harder. Eventually, it becomes too hard to keep shaping comfortably.
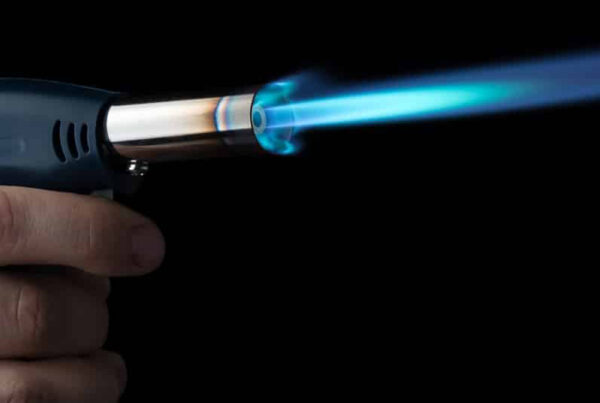
So we annealed it. Annealing means carefully heating the silver to soften it again. This gave him workable metal for the next stage.
It’s a small part of the process, but it’s an important lesson in jewelry making.
You don’t simply force silver into shape.
You learn when to push it, when to stop, and when the metal needs a little help.
Otherwise you run into the problem of splintering or breaking if forced beyond its point.


The Process
3. Forming the Double Knots
With the wire ready, he could finally start making the ring itself; The design called for two small knots formed from the thin silver wire.
That sounds easy until you try doing it with 0.9 mm wire because the knots had to be shaped, positioned and tightened carefully.
Too much pressure could flatten the wire and or a small change in one bend could affect the shape of the whole ring.
And because the wire was being worked again, it could harden as he went. There was plenty of checking, adjusting, tightening and trying again.
The finished design was delicate.
The making was not as much.
The Process
4. Soldering the Knots & Shoulders
Once the knots were formed, they needed to stay together. That meant soldering them.
And there was more soldering to come. The shoulders of the ring also needed to be joined securely, so the finished piece required several carefully controlled soldering steps.
Working with thin wire makes this especially important and there isn’t much metal to work with, because there isn’t much room for error.
A little too much heat or solder can quickly change the shape, or totally melt out the silver wire. Which would mean re-starting the entire piece again from wire drawing..
He was patient throughout the process. Although the tiny pieces of solder gave him a bit of a struggle to place them correctly on top.


The Process
5. Filing, Sanding and Finishing
Even after the ring was assembled, it was far from finished. The soldered areas first needed to be cleaned up and refined. Edges had to be filed, the knots checked, and the shape adjusted until everything sat where it should.
Then the ring went through the tumbler; The tumbler burnishes and hardens the surface of the silver, while smoothing out many of the small marks left from the earlier work. It also gives us a clean, even surface to sand.
After tumbling, the ring was sanded by hand. This is where the final character of the surface starts to appear. Sanding removes the remaining marks from filing and gives the silver an even finish that feels deliberate rather than accidental.
Only after all that could the ring be polished. This is the stage where after all the steps and the sweat, it finally becomes one beautiful piece of jewelry.
The rough silver disappears. The surface brightens. And the little double-knot design finally becomes clear and super shines.
The Result
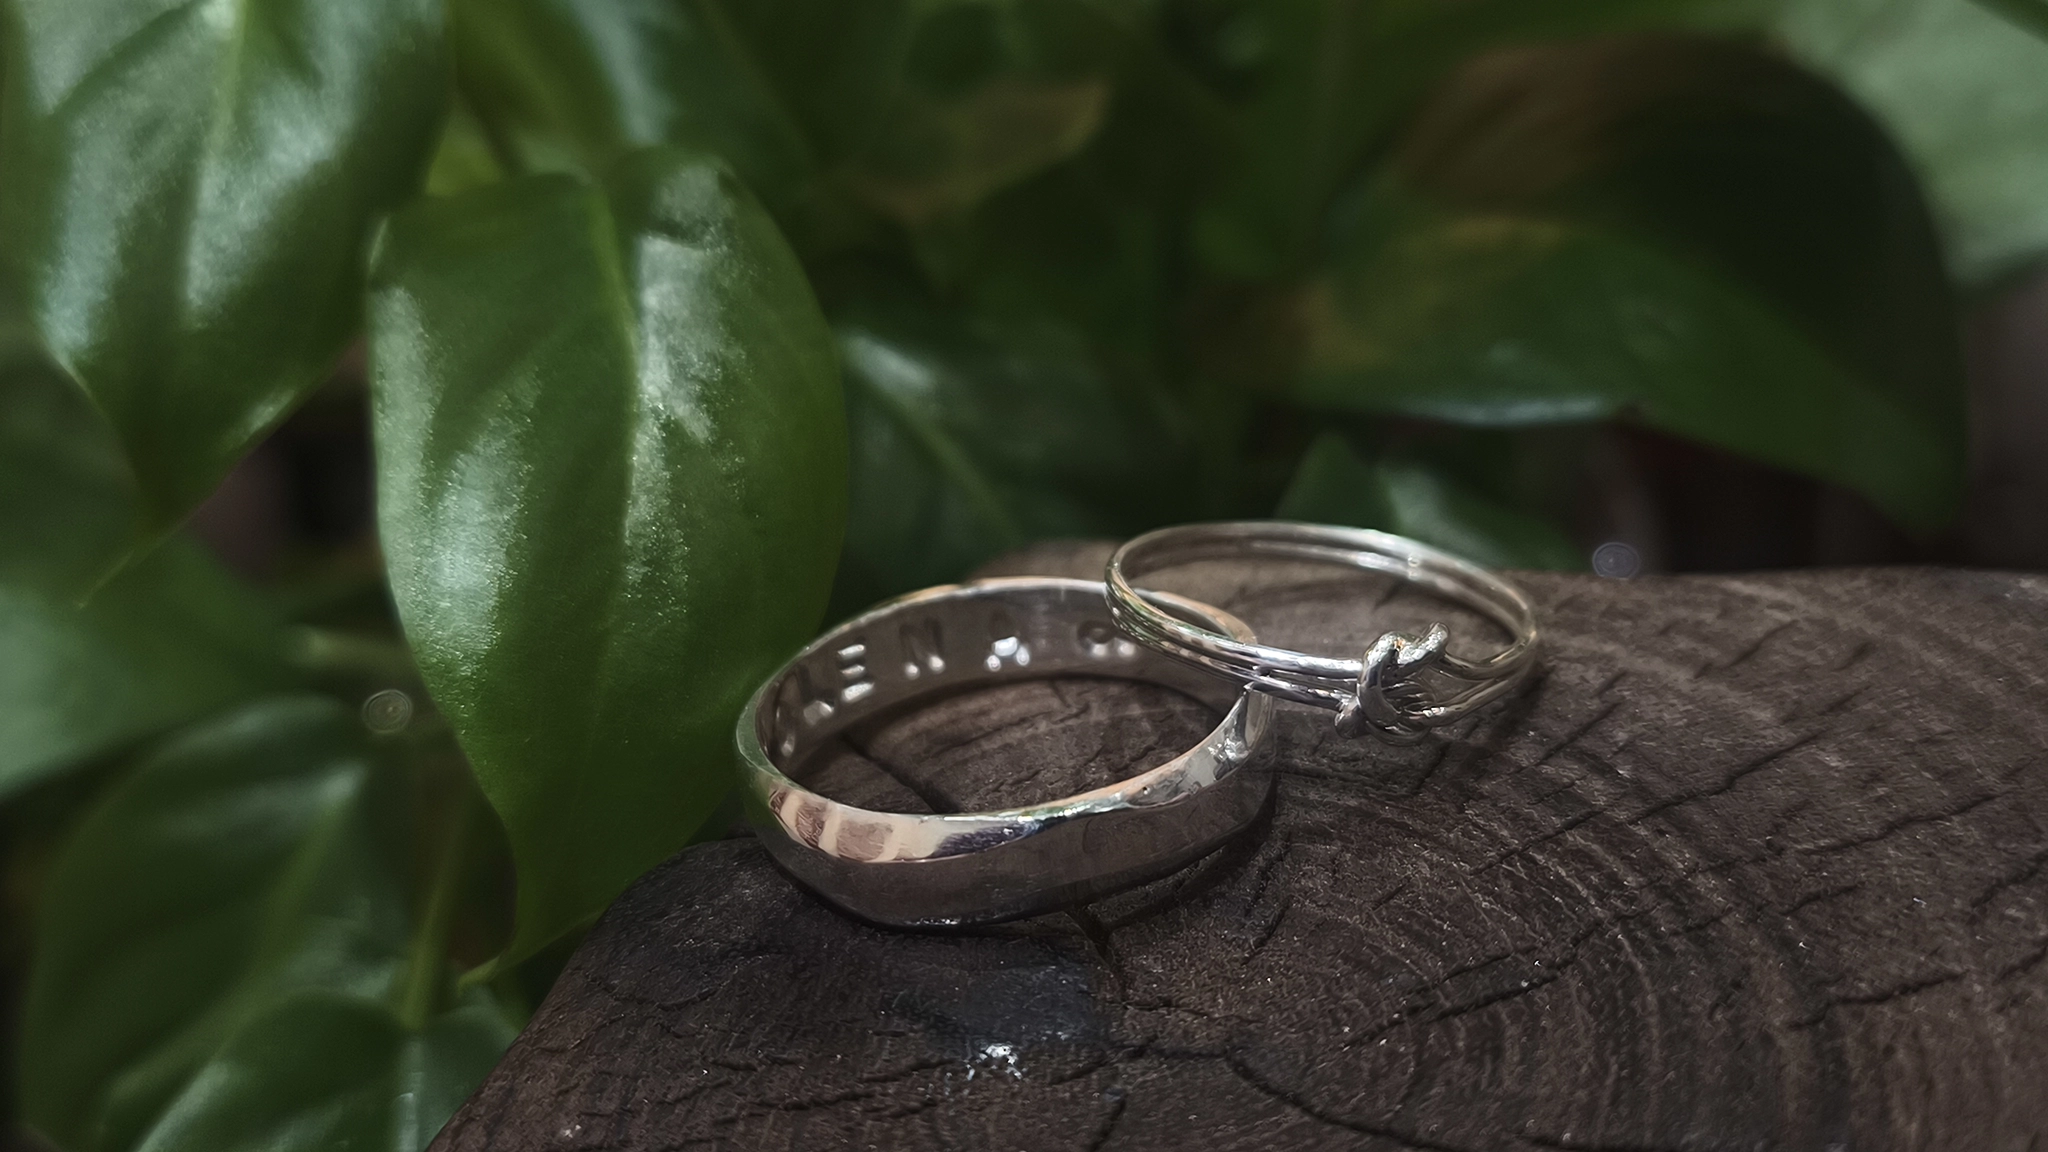
Two Rings Made for Each Other
While he was working through the delicate double-knot ring, she was making a ring for him on the other side of the workshop.
Dieu guided her through her project while Luis worked alongside him, helping when a technique was new or when the silver decided not to cooperate. They were both learning as they went, with each person making a piece that would eventually belong to the other.
That meant neither of them was simply following a finished design and copying it step by step. They had to make decisions at the bench, adjust the metal as the work progressed, and deal with the small problems that naturally appear when you’re working with silver for the first time.
By the end of the session, both rings had gone through the same basic journey: shaping, filing, soldering, refining, sanding and finishing. The difference was that each person had spent the afternoon making something specifically for the other.
That’s what makes these two rings more than matching souvenirs from a workshop. He knows exactly how much work went into the ring on her finger, and she knows the same about his.
They made them for each other, from pieces of silver that were just raw material when they walked through the door.
What This Project Shows
A simple-looking ring can involve a surprising amount of jewelry making.
The finished double-knot ring is small, delicate and fairly understated. It would be easy to look at it and assume that making it was a straightforward job.
In reality, the process covered several different jewelry-making techniques.
The project started with 3.5 mm silver wire, which had to be drawn down to approximately 0.9 mm using a drawplate. The silver then needed annealing before it could be formed into the tiny double knots. Those knots were carefully tightened and soldered, followed by more soldering to join the sides of the ring.
Once the construction was complete, there was still plenty of bench work left. Filing cleaned and shaped the soldered areas, tumbling burnished the silver and prepared the surface for hand sanding, and the final polishing brought the finished ring to life.
None of those steps are particularly obvious when you look at the finished piece.
That’s one of the reasons we like showing the complete process at Ddreamer. A jewelry making workshop shouldn’t only be about producing something that looks good at the end. It should also give you a better understanding of what actually goes into making jewelry by hand.

You get to work with the metal, learn how different tools affect it, and see how one stage prepares the silver for the next. Even a small handmade silver ring can involve far more work than its finished size suggests.
For him, that entire process had one simple purpose: making a small piece of jewelry his partner.
That’s a pretty good reason to spend an afternoon at our jewelry workshop.
The Finished Pieces
They arrived expecting to spend an afternoon making jewelry together. They left with two finished silver rings, each one made by the person who would eventually wear the other.
The rings are not identical, and they don’t need to be. What connects them is the story behind them and the fact that neither was simply selected from a display case or handed over after someone else had made it. They spent the afternoon learning how to work silver, solving problems as they appeared and gradually turning raw material into something wearable and beautiful.
For us, that’s the part that makes a private jewelry workshop different from simply buying a piece or have someone do the harder bits for them. Their sweat and effort to make them great, the concentration, the adaptability, creativity and most importantly; their love, poured into a single piece of handmade jewelry.

The finished ring is the thing you take home, but the process is what makes you remember it.
Years from now, they may not remember every step of the afternoon. They probably won’t remember exactly how many times they filed a particular edge or adjusted a bend.
But she’ll know that the ring on her finger started as thick silver wire, that he fought it through a drawplate, formed those tiny knots by hand and soldered the whole thing together all by himself.
And he’ll know that his ring carries its own story too, as it was made by hand, on the same day, by his partner.
That’s something a product description will never quite capture.